
- > Fast Jewelcrafting 1–300 in WoW TBC Classic Anniversary
- > WoW TBC Classic Anniversary: How to Travel to The Exodar Efficiently
- > WoW TBC Classic Anniversary Flying Guide: Costs, Trainers, and Smart Strategies
- > WoW TBC Classic Anniversary: Into the Breach Quest & Tabard Guide
- > Best Class to Boost in TBC Anniversary (2026)
- > The Burning Crusade Classic Anniversary Edition Arrives February 5
WoW TBC Classic - Karazhan Raid Guide
With the release of TBC Classic, most players have been gearing up and preparing for the much anticipated Karazhan raid. We have a comprehensive look at this guide's bosses, loot, and more. But before we go there, what is Karazhan, and how do you enter it?
Where is Karazhan?
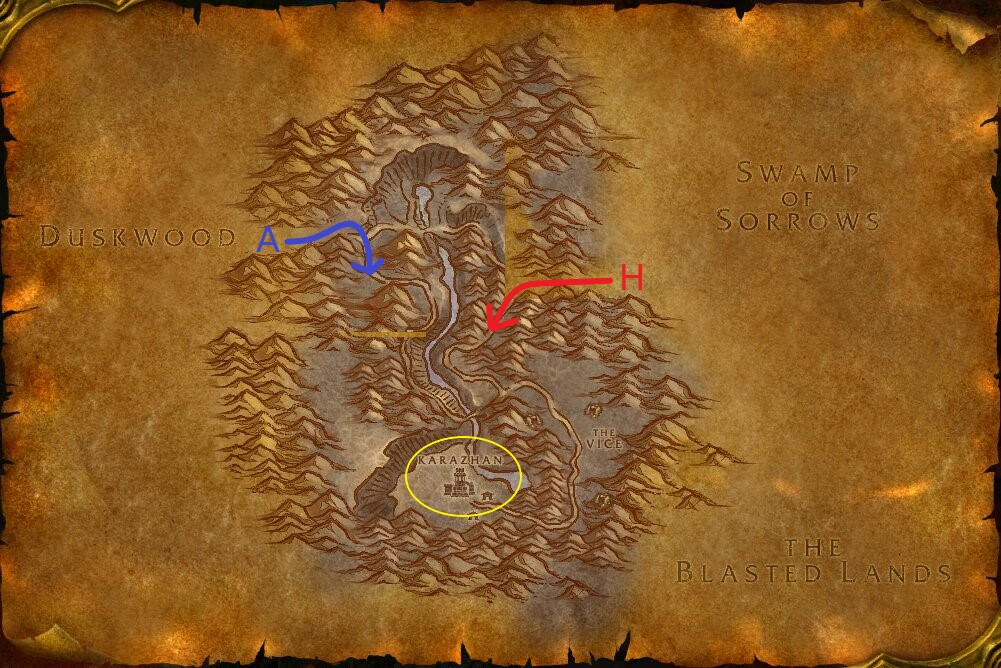
Karazhan is located in Deadwind Pass between Duskwood and Swamp of Sorrows. To get to Karazhan, you need to take the road from either Darkshire (Alliance) or Swamp of Sorrows, which leads to the Deadwind Pass. While traveling in Deadwind Pass, you must go past “The Vice” and into the abandoned town. You will find the Entrance to the Karazhan Raid at the end of the abandoned town.
Gear Requirements
Below is a list of Minimum requirements for gear per class and role. Depending on skill level and build types, this table can be ignored, but you should follow this table below as a roadmap.
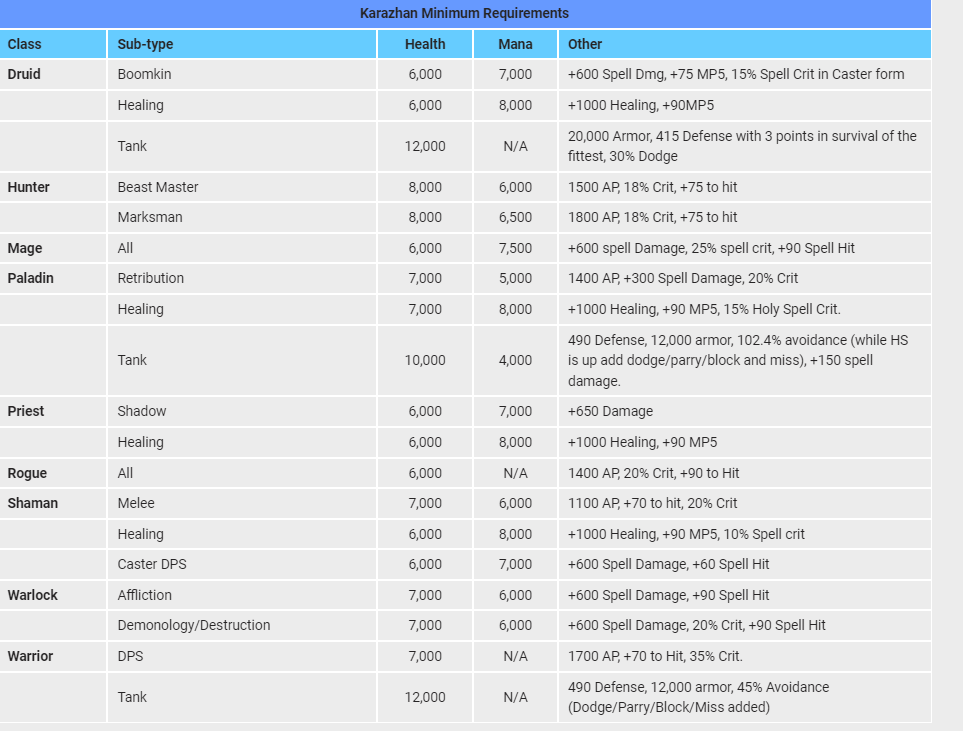
As you can see, according to the above table, the gear requirements aren’t too difficult to achieve and, with a bit of farming, can be managed. If you are struggling to get gear for this raid, you can check out our guide for professions or our store for great deals on Cheap TBC Gold that will allow you to get into Karazhan.
The Bosses and Mechanics - Karazhan TBC Classic
Like our Zul’aman guide, we will go over each boss, their mechanics, and how to avoid them. Let’s get into the first boss; Attumen the Huntsman.
Attumen the Huntsman
This boss is simple; it’s a tank and spank with a few mechanics. This boss is a great way to see if your DPS and tank can handle the raid, along with getting a few great starting items for any members of the raid who lack the gear.
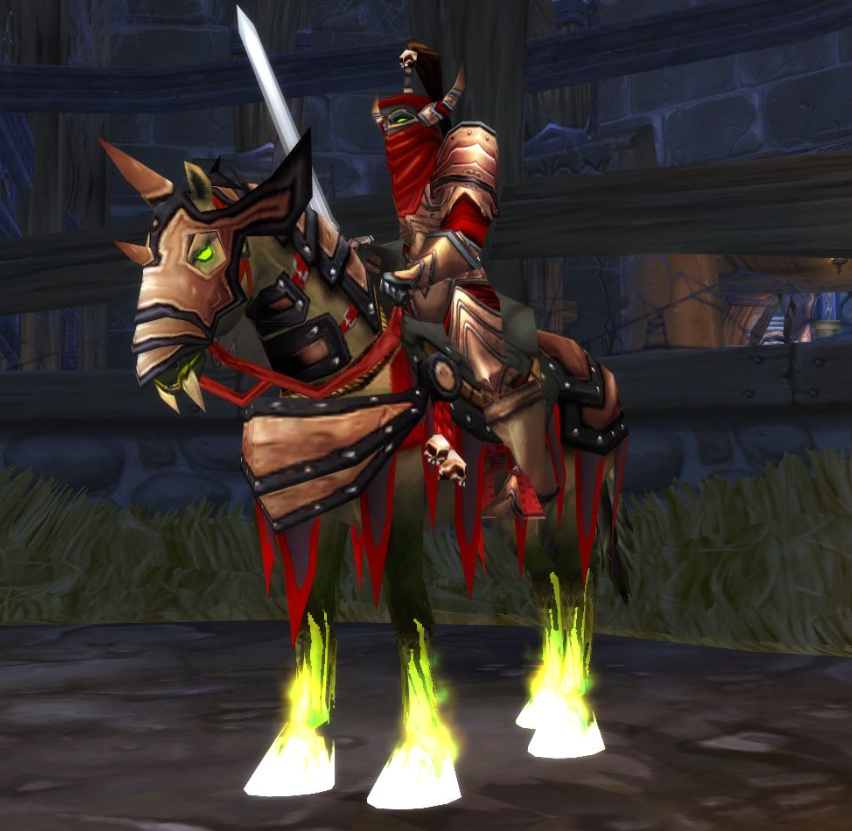
Phase 1
Tank and Spank
Phase 2
Phase 2 begins when Midnight reaches 95% health. Attumen spawns near Midnight.
Tanks must pull Midnight and Attumen together and face the opposite direction of the raid to avoid Shadowcleave.
Phase 3
Phase 3 begins with Midnight reaching 25% health. The two bosses merge, gaining the highest of the two’s HP. Druids or Mages must debuff intangible Curse as tanks can get killed quickly with this debuff.
That’s it; relatively easy boss to start the raid off. (If you want to progress through raids and defeat bosses, read this TBC Classic Shadow Resist Gear Guide before any move. )
Moroes
Moroes is technically challenging but can be handled easily with the correct mob priority. Tell your raid before the pull which mobs to focus on first. Here is a recommendation for kill order:
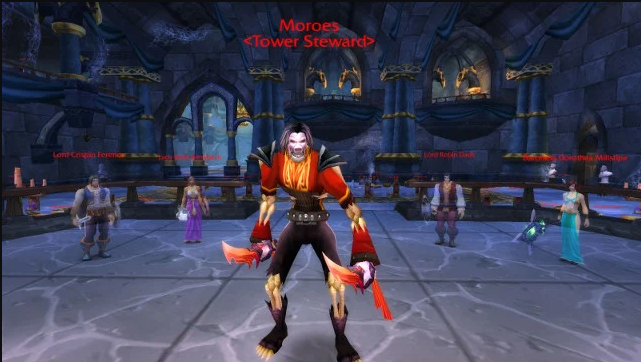
●Lady Catriona Von'Indi - Healer
●Lady Keira Berrybuck - Healer
●Baroness Dorothea Millstipe - Deals significant mana burn damage
●Baron Rafe Dreuger - Stuns periodically
●Lord Robin Daris
●Moroes
●Lord Crispin Ference
Focus these mobs in this order, and you will be fine. Note; the tank must swap aggro to off-tank once Gouge is used. Interrupt mana burns and heals during the kill phase.
Maiden of Virtue
Maiden of Virtue is a simple tank and spank boss with the tank standing in the middle of the room and DPS scattered around the room. Healers must be ready to dispel holy fire as the DPS will cripple healer mana. Ranged DPS will need to run into Holy Ground to break the Repentance debuff that Maiden of Virtue will periodically cast. Tanks must pop defensive cooldowns after each Repentance cast by Maiden of Virtue. Otherwise, nothing too complicated; keep tanks alive and DPS the boss.
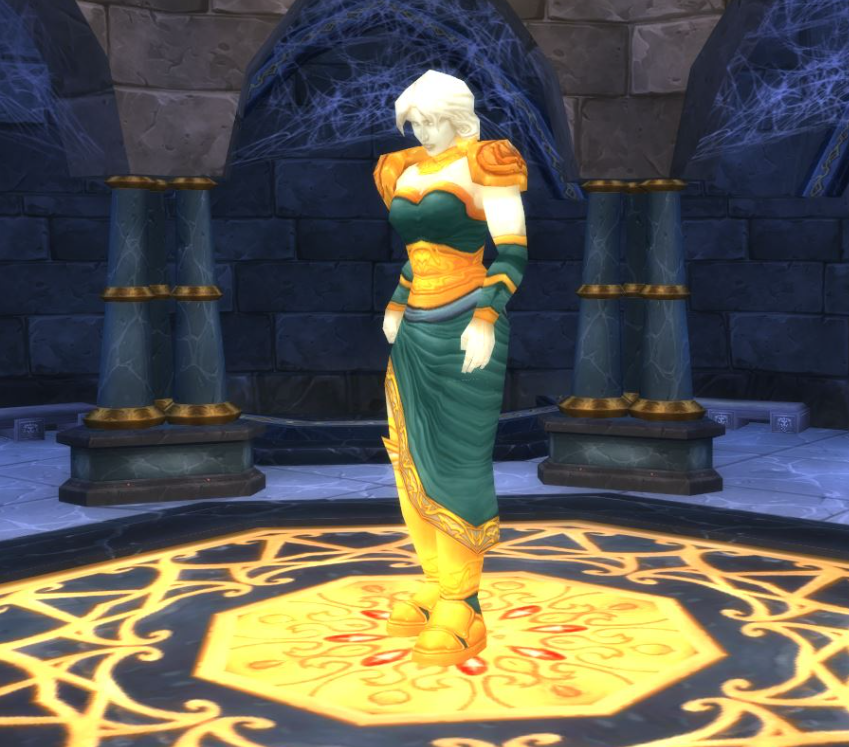
Opera Event - The 3 Different Variants
There are three different variants to this event/boss, as it says in the title. This boss/event pays homage to old fairy tales/popular fiction and is quite entertaining. We will go through all of these three events one at a time, starting with:
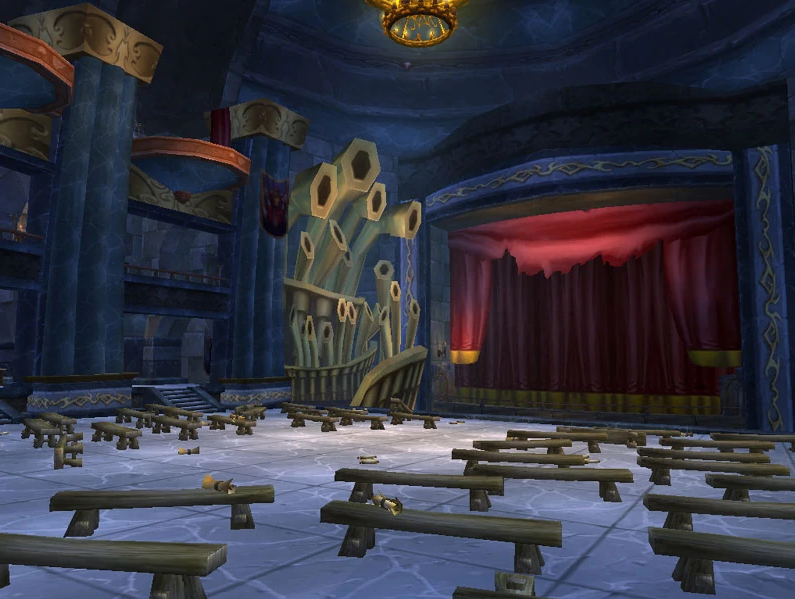
Opera Event - The Big Bad Wolf
The Big Bad Wolf boss fight is one of the most entertaining events. It’s a relatively easy Tank and Spank boss fight with a mobility mechanic throughout. Players will expect the debuff “Little Red Riding Hood,” forcing one of the players to run away from the boss as they will have 100% aggro until the debuff wears off. The Big Bad Wolf will cast periodically “Terrifying Howl,” causing anyone within a 3-meter range to get feared. He will also cast “Wild Strike,” which stuns the target for 4 seconds; make sure the tanks have aggro when he does this. Healers must focus healing on the target with Red Riding Hood debuff.
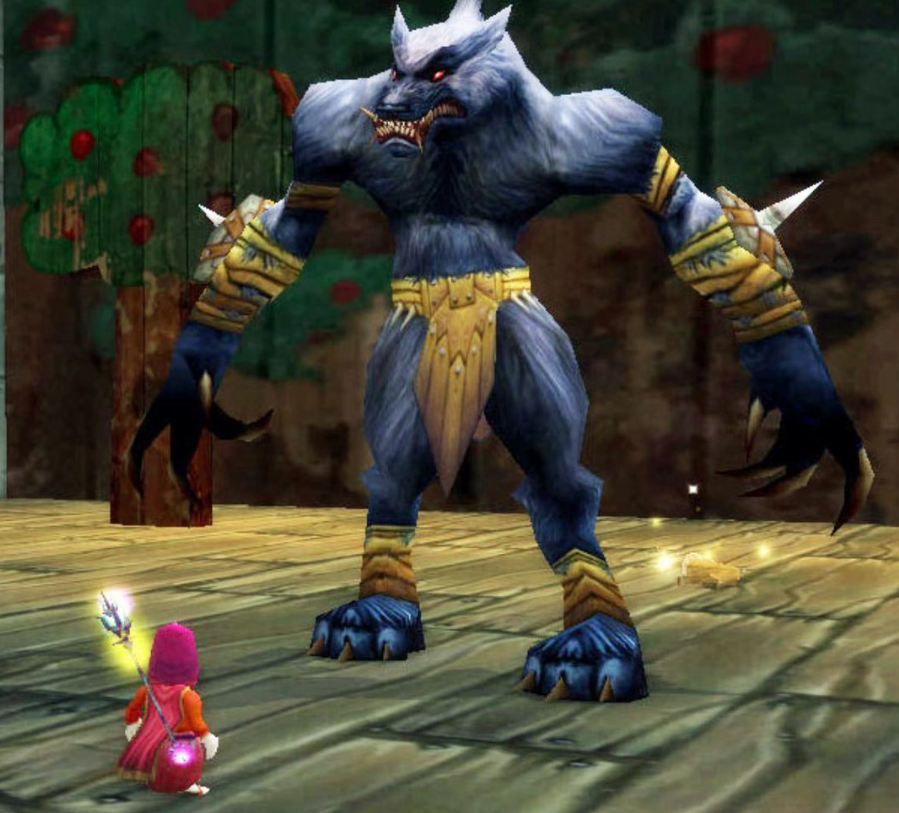
Opera Event - Romulo and Julianne
Another variation to the Opera event is Romulo and Julianne, which alludes to Shakespeare's Romeo and Juliet. This fight has 3 phases beginning with Julianne.
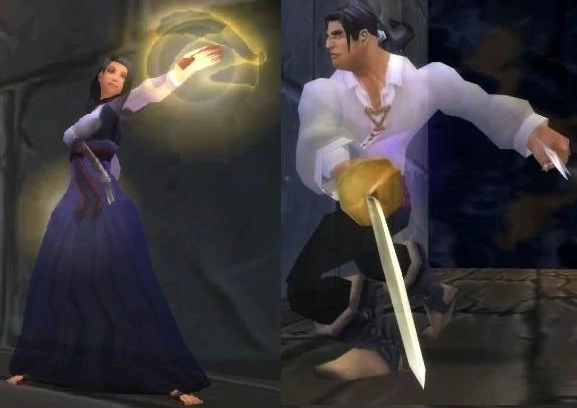
First Phase - Julianne
Julianne will use Eternal Affection during the fight, which will heal any allies for a large portion of their HP. Make sure to use mages or any other dispells during her cast of Eternal Affection. Otherwise, it’s a tank and spank with little other spells cast on allies that need to be debuffed and healed. Once Julianne has been defeated, phase two will begin.
Phase Two - Romulo
Tanks must pull Romulo to the back of the wall to avoid letting the raid gets hit by large amounts of AoE cleave damage. Dispel the “Daring” buff as often as possible, as this increases Romulo's damage and attack speed; once Romulo is dead, phase three will begin.
Phase Three - Romulo and Julianne
Once you have killed Romulo, both Romulo and Julianne will respawn. The only way to beat these two is to kill them within 10 seconds of each other, which means DPS will need to manage both health bars simultaneously. We recommend Melee focusing on Romulo and Ranged focusing on Julianne while both dispelling and removing their respective buffs. Tank them down the same as Phase two and Phase one.
Opera Event - Wizard of Oz
This Opera Event has players fighting beloved characters from the Wizard of Oz. As with the Moroe fight, players must choose targets to fight before they charge into this fight. In this case, we recommend focusing on:
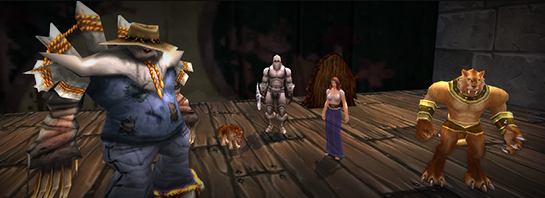
1.Dorothee
2.Roar
3.Strawman
4.Tinhead
First Phase
Focus down on Dorothee first; make sure not to kill Tito, or else she will enrage. Next, focus on Roar; off-tank should be tanking this. Once Roar has fallen, focus on the Strawman (Any fire mage or warlock can keep Strawman disoriented with fire damage). Lastly, kill Tinhead, simple tank, and spank.
Second Phase
Once you have defeated all the characters, The Crone will spawn. Stand out of her Cyclone attack and spread out to lessen the Chain Lightning attack. Kill her, and the encounter ends.
The Curator
The Curator has 3 Phases
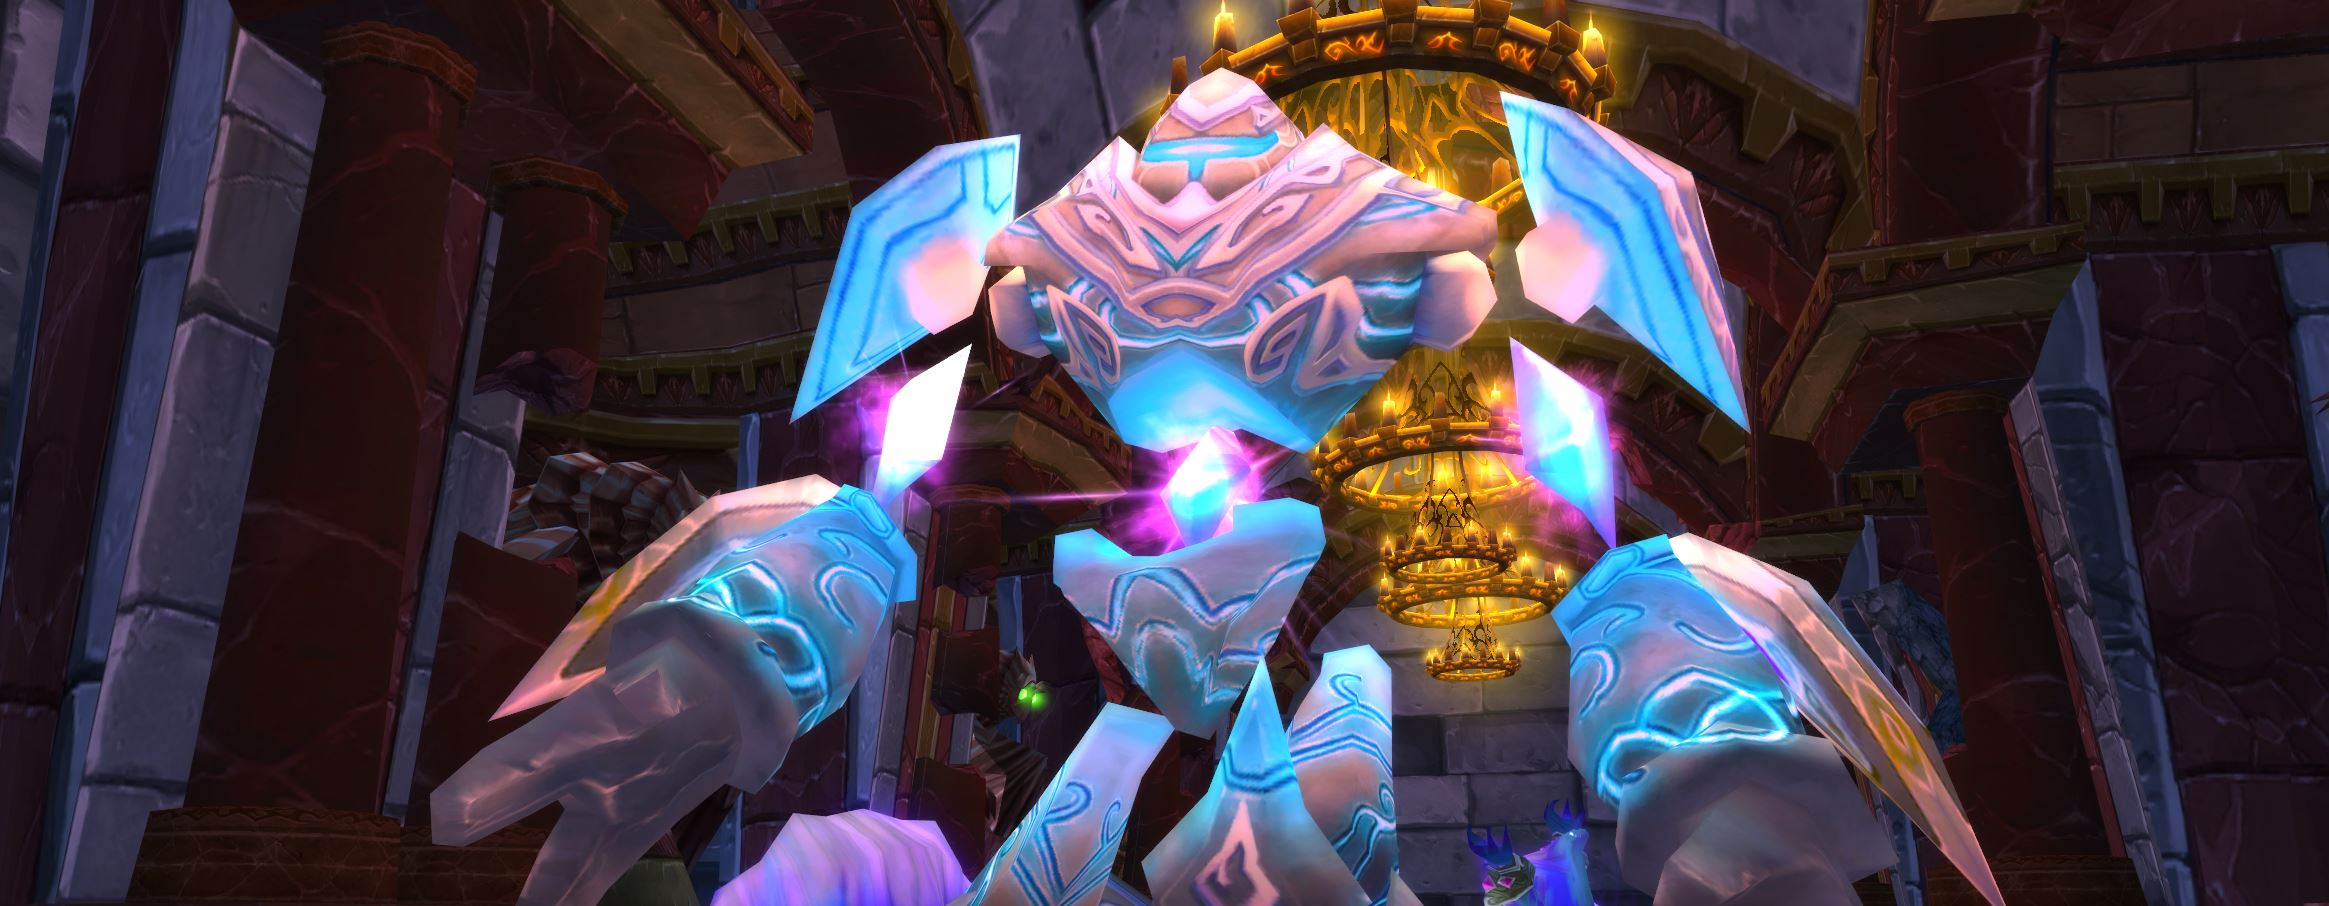
Flare Phase
Destroy Flares as soon as possible as they spawn every 10 seconds and deal chain damage. Ranged DPS should stand further away and attack flares from a distance. Off-Tank will be hit by a Hateful bolt, which healers will have to heal up as fast as possible.
Evocation Phase
This phase starts once the 10th flare spawns. Kill the 10th flare as fast as possible; as soon as you do this, The Curator will begin Evocation which will debuff him to take triple the amount of damage over 20 seconds. Pop all cooldowns for the evocation phase to get as much damage out.
Enrage Phase
Once the Curator is on 15% health, Enrage phase will begin. Flares will stop spawning, but Hateful bolts will be faster and deal more damage, try burning the boss down as fast as possible in this phase.
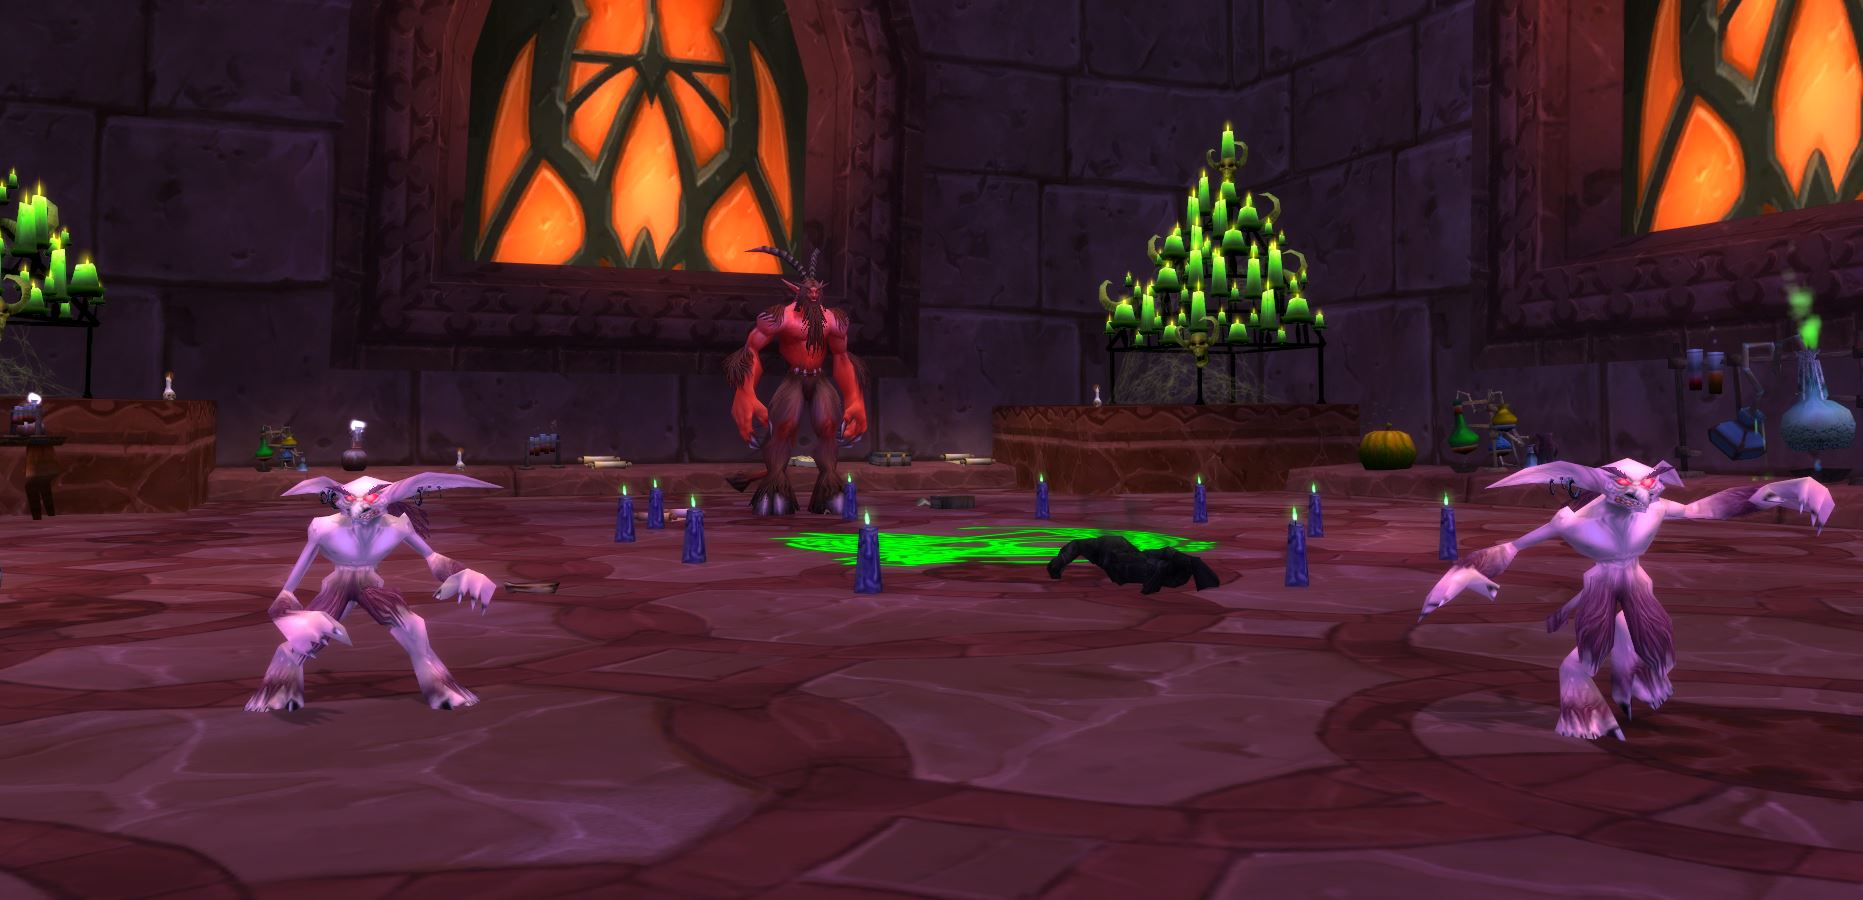
Chess Event
Move pawns to allow for stronger pieces to enter the forward section. Focus down on Bishops as they heal, followed by the Queen and King. Avoid Medivh’s cheats (circle of fire) and lastly, use your King offensively.
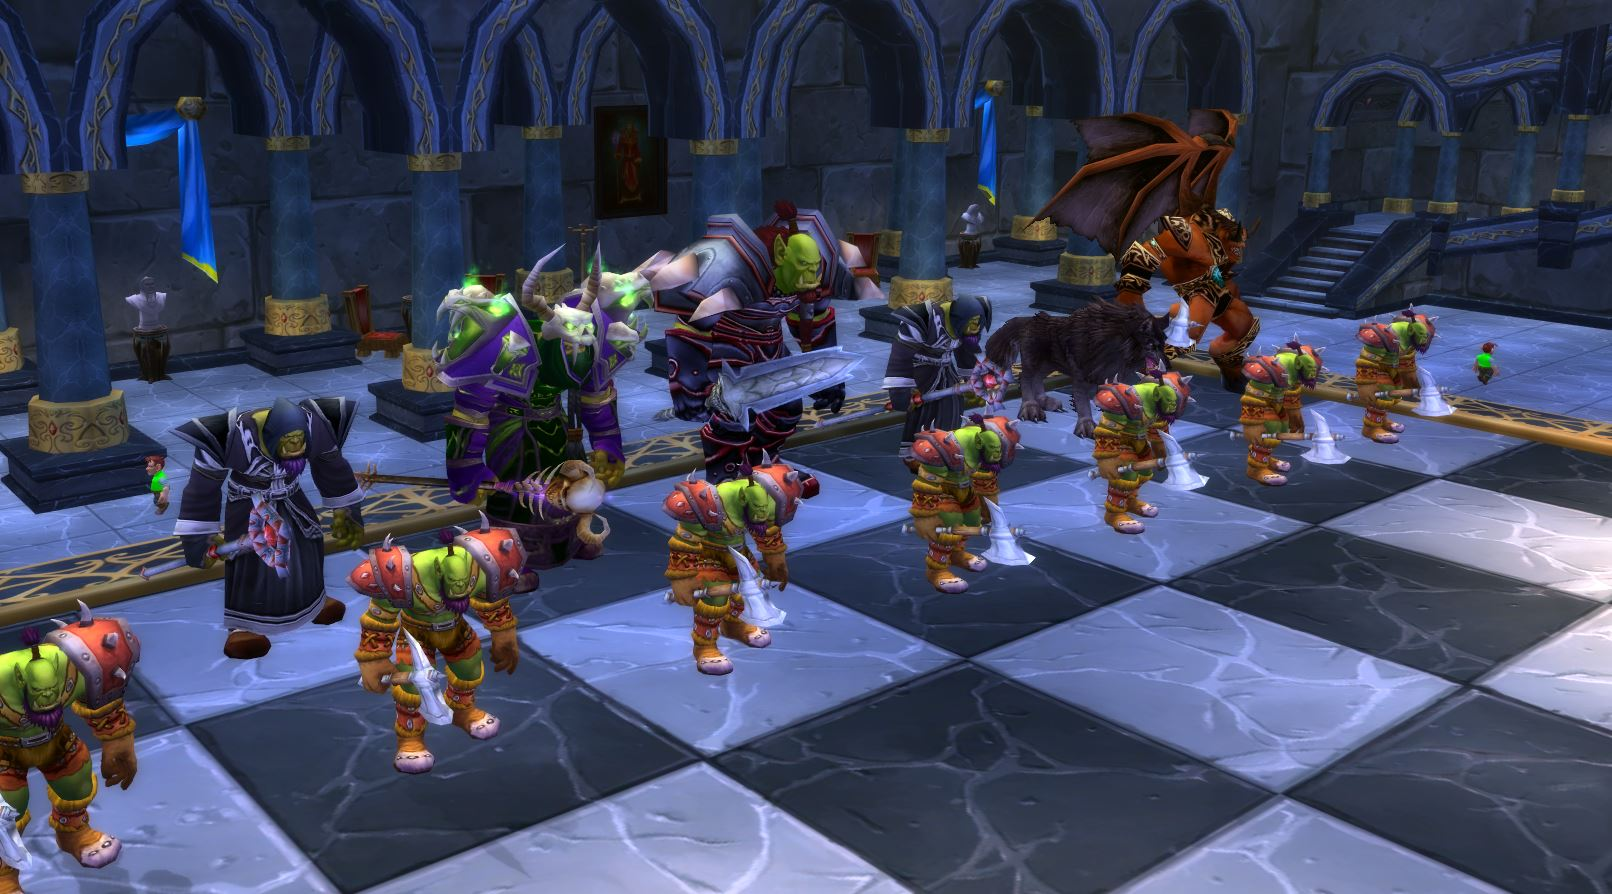
Terestian Illhoof
For this fight, you want to Tank Illhoof and Kil'rek near the green circle in the room. Once Illhoof casts Sacrifice, he links chains to a random player; make sure to destroy those chains as fast as possible and heal the afflicted target. Focus Kil’rek first as he will put a debuff on Illhoof, making him take 25% more damage. Kill adds with AoE.
Shade of Aran
Next up is the mage boss fight, Shade of Aran. This boss doesn’t have phases but instead has a gauntlet of abilities that will require dispelling and interrupting; healers be ready; this is challenging.
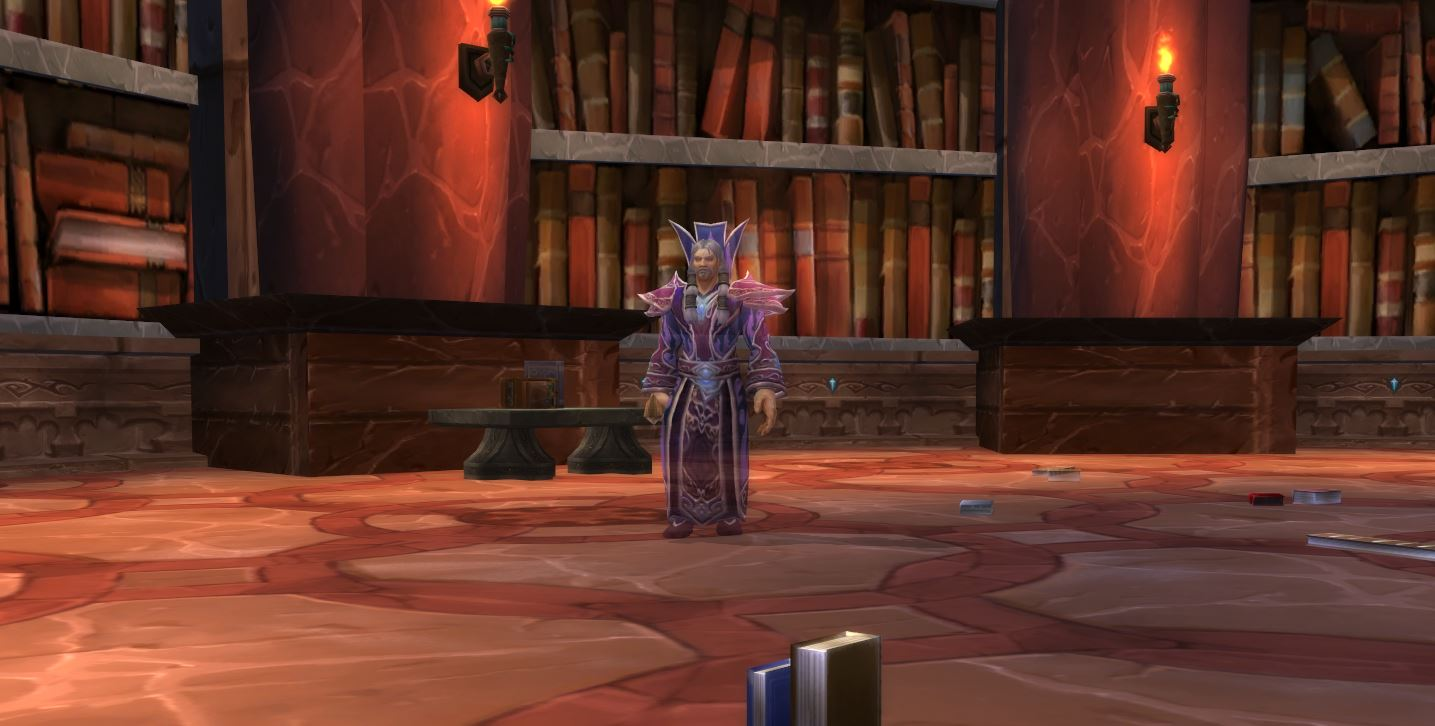
●Ranged DPS must stand at least 10 yards away to avoid periodically silencing.
●Interrupt Fireball and Frostbolt but let Arcane missiles go through.
●Healers keep players hit by Dragon’s breath as this will make the target get hit by 6000 damage over 6 seconds and spread the debuff to other allies. DPS must stand spread.
●A Circular Blizzard will go throughout the room and run to the middle or opposite end to avoid being hit by it.
●After Magnetic pull (pulls all players to Aran), he will cast Arcane Explosion, which causes great damage, so to avoid this, players must run away from Aran the moment he pulls everyone.
●At 40% health, Aran will summon Water Elementals that can be banished or feared by warlocks. These mobs have to be tanked and should be focused quickly.
●At 20% mana, Aran will polymorph the entire raid and rapidly cast pyroblast; healers have to top everyone up the moment polymorph fades.
●After the Polymorph phase, just tank and spank him down with continuous interruptions until Aran dies.
Netherspite
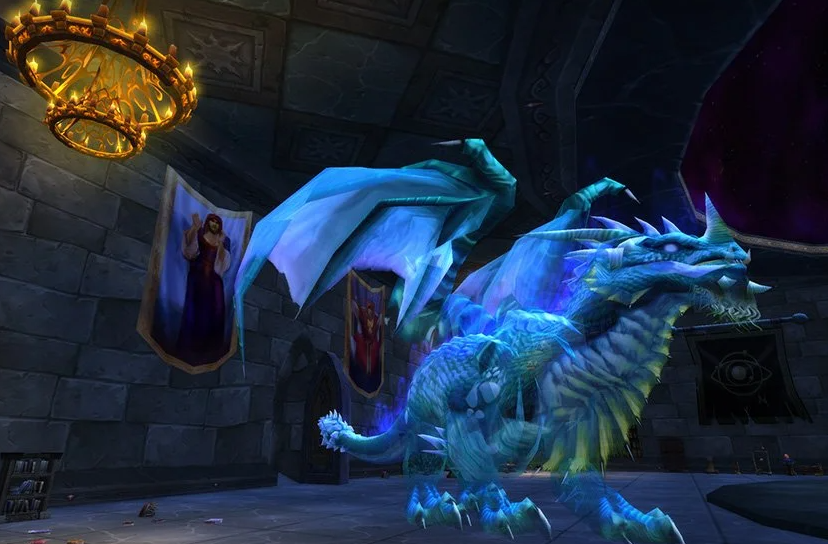
Netherspite is a long boss fight with two notable phases, Portal Phase and Banish Phase.
Portal Phase
During the Portal Phase, players will need to coordinate methodically as there is a lot of movement happening in this fight.
●3 Portals will spawn throughout the Fight - Red, Green, and Blue.
●2 Tanks and 2 Dps are needed to soak the damage from each portal
●The previously soaked players will need to soak a different color as a debuff disallows them to soak the same color twice.
●These portals do allow benefits and debuffs, which are as follows: Blue - Increased Damage output but decreased heals and more magic damage taken; Red - Increased HP but deals 1k damage per tick (tanks should take this one); Green - Increased healing done, but increases the mana costs per ability.
●Entire Raid takes constant Nether Burn damage, which healers must be aware of
●Avoid Void Zones as they will deal high amounts of damage
●Keep damaging Netherspite till Banish Phase
Banishing Phase
When Banishing Phase begins, all periodic damage goes away; make sure to run to the other side of the room to avoid Netherbreath. Once the Banishing Phase ends (after 30 seconds), return to the main fight and repeat Portal Phase until he dies.
Prince Malchezaar
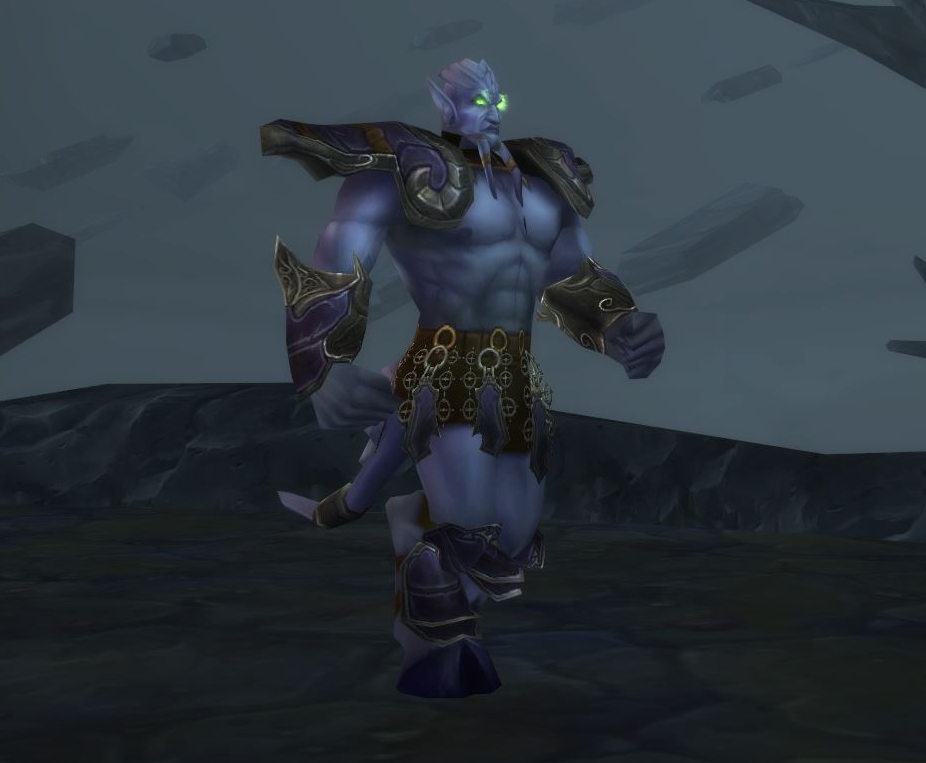
Prince Malchezaar has 3 phases; we will go over each phase individually.
Phase One
During this phase, Malchezaar will push tanks away with Shadow Nova; to avoid chaos, tank him with your back against the wall. While fighting Malchezaar in Phase one, infernals will spawn and cast hellfire around them; run away from these infernals and keep attacking Malchezaar. Malchezaar will cast Enfeeble on a random target which will reduce their HP to 1; make sure to stand 30 yards away from the boss so as not to be hit by Shadow Nova.
Phase Two
Phase two begins when Malchezaar reaches 60% HP. This phase is especially bad for tanks as he will use Thrash, Sunder armor, and Parry. These abilities make it difficult to tank the boss. The effects from Phase one carry over into this phase.
Phase Three
Phase three begins when Malchezaar reaches 30% health. This phase is basically phase one multiplied by 10. Malchezaar does amplified damage (double damage) and spawns double the amount of Infernals while still casting Enfeeble. This phase is tricky and can often cause wiping, make sure you’re geared for this fight.
Nightbane
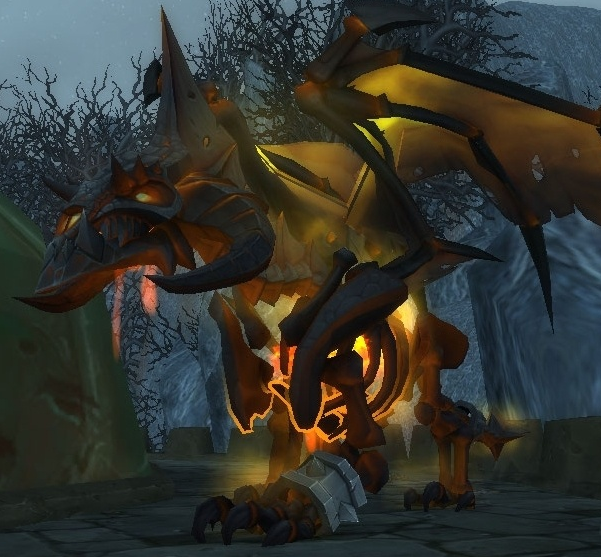
The Final Boss; This fight consists of two phases: The Ground and Flight phases.
Ground Phase
●Tank Nightbane against the wall that faces outside
●Dragon tactics apply; in other words, melee DPS must stand on the side of Nightbane to avoid tail hits and dragon breath.
●Ranged DPS must stand at maximum Range to avoid Bellowing Roar
●Healers must dispel Distracting Ash
Flight Phase
●The flight Phase begins at intervals of 75%, 50%, and 25%
●DPS must focus on Skeletons spawned from Rain of Bones
●Healers must focus on the player hit by Smoking Blast as the DPS will kill them
●Everyone must be grouped in order not to be hit by fireblasts
●After casting Rain of Bones and Smoking Blast, Nightbane will land
After he lands, keep up DPS in the Ground Phase and burn him down.
Conclusion
Karazhan is one of the most entertaining Raids that TBC Classic offers, with unique bosses and great loot getting you ready for TBC. We hope you enjoyed our rundown of every boss and the Karazhan location; if you enjoyed it, check out our other useful WoW guides here, and if you don’t want to grind the gear you need to enter Karazhan, check out our store for great deals on WoW TBC Classic Items and gold. As always, Happy Raiding!
Table of contents
Recommended Article