
- > Path of Exile 2 New Season Power-Leveling Reservation Guide
- > PoE 2 Duelist Class Guide: Release Date, Skills, Ascendancies & Best Builds
- > PoE 2 0.5.5 Forbidden Rites: How to Dominate the New Event League From Day One
- > PoE 2 0.5.5 Release Date, Fresh Economy & Patch Notes
- > PoE 2 Mageblood Utility Belt Guide: Modifiers, Builds, and How to Get It
- > Path of Exile 2 Voices Sapphire Guide – The Ultimate Endgame Jewel Chase Item
PoE 2 Trial of Chaos: Best Modifiers and How to Tackle Them

Path of Exile 2’s Trial of Chaos is one of the most challenging endgame activities, where players face multiple rounds of deadly encounters while choosing negative modifiers that increase difficulty. Understanding each modifier and selecting the right ones can make the difference between a successful run and losing precious loot. Here’s your comprehensive guide to the best Trial of Chaos modifiers and how to handle them.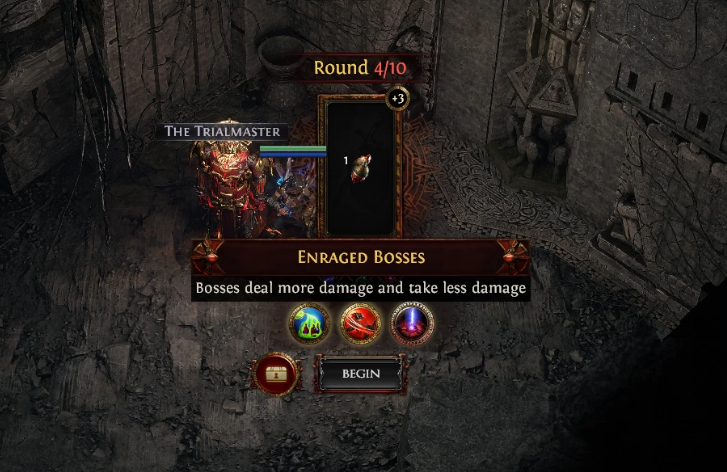
How Trial of Chaos Modifiers Work
Before every round of the Trial of Chaos, you must choose one of three negative modifiers that will affect the rest of the run. Some modifiers are manageable on their own, while others can quickly end your run if stacked improperly. Always consider your current loot and character build before accepting a high-risk modifier.
List of All Trial of Chaos Modifiers and Analysis
Offensive / Environmental Modifiers
-
Stormcaller Runes (Rank 1-3) – Lightning storms appear on runes. High lightning resistance makes even rank 3 manageable.
-
Burning Turrets / Shocking Turrets – Periodic fire or lightning projectiles. Manageable with 75% respective resistance.
-
Pyramid Beams (Rank 1-2) – Rotating lasers inflict Corrupted Blood. Dodge rolling is key.
-
Impending Doom (Rank 1-2) – Rings of Doom that explode for physical damage. Avoid with low physical mitigation.
-
Heart Tethers (Rank 1-2) – Tethers slow or stun you. Rank 2 can cause vulnerability; best avoided if unprepared.
-
Reduced Recovery (Rank 1-2) – Decreases Life, Mana, and Energy Shield recovery. Critical to avoid for all builds.
-
Petrification Statues (Rank 1-2) – Standing in gaze petrifies you. Avoid or face near-certain death.
-
Damaged Defences (Rank 1-2) – Reduces armor, evasion, and energy shield. Highly punishing for energy shield builds.
-
Reduced Resistances (Rank 1-2) – Lower elemental resistances. Rank 2 especially dangerous without high life/shields.
Monster-Based Modifiers
-
Deadly Monsters (Rank 1-2) – Higher crit chance or always crit. Requires mitigation for big hits.
-
Chaotic Monsters (Rank 1-2) – Adds Chaos damage. Chaos Inoculation nullifies this.
-
Toxic Monsters (Rank 1) – Inflicts Bleeding and Poison. Manageable with Antidote or Staunching Charms.
-
Resistant Monsters (Rank 1) – +40% resistances. Consider if your main damage type is physical.
-
Unstoppable Monsters (Rank 1) – Cannot be slowed or stunned. Mostly harmless for non-control builds.
-
Entangling Monsters (Rank 1) – Grasping Vines slow movement. Dangerous for melee builds.
-
Enraged Bosses (Rank 1) – Bosses deal more damage and take less. Avoid unless you can kill bosses fast.
-
Lethal Rare Monsters (Rank 1) – Rare monsters get 2 additional mods. Increases loot if manageable.
-
Volatile Fiends (Rank 1) – Exploding monsters on death. Use dodge rolls to avoid.
-
Monster Speed (Rank 1) – +20% skill speed. Makes monsters more dangerous, especially bosses.
-
Shielding Monsters (Rank 1) – Protected by energy shield. Easier to manage with physical damage builds.
Global / Time Modifiers
-
Time Paradox (Rank 1) – Buffs expire faster, debuffs slower. Dangerous with combination modifiers.
-
Escalating Damage Taken (Rank 1) – Damage increases 1% per second up to 50%. Highly risky for long encounters.
-
Lessened Reach (Rank 1) – -50% AoE/projectile speed. Mainly slows down fights, not deadly.
-
Drought (Rank 1) – Monsters drop no flask or charm charges. Critical for flask-reliant builds.
Boss-Specific / Unique Threats
-
Stalking Shade (Rank 1-3) – Invulnerable shade inflicting Ruin. Persistent Ruin stacks make higher ranks deadly.
-
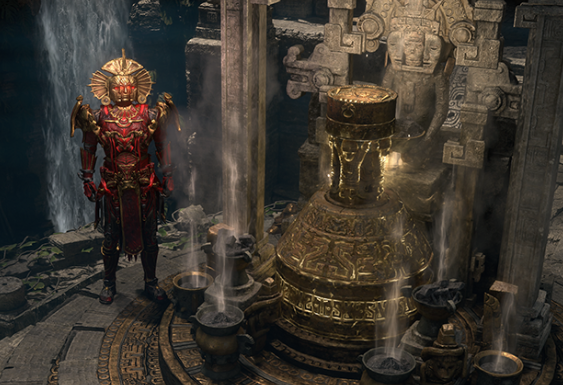
Vaal Omnitect (Rank 1-3) – Ancient Vaal machine attacks. Appears centrally; can overlap with boss mechanics.
Recommended Modifiers for Safer Runs
For most builds, the safest approach is to avoid stacking high-risk modifiers. Recommended choices include:
-
Blood Globules – Easy to avoid; minor damage.
-
Stormcaller Runes (with high lightning resist) – Manageable even at rank 3.
-
Burning/Shocking Turrets – Mitigated by resistances.
-
Lessened Reach – Slows fights but rarely deadly.
-
Shielding Monsters – Manageable for most builds.
Avoid modifiers like Reduced Recovery, Petrification Statues, Enraged Bosses, and Stalking Shade rank 2-3 unless your build is extremely tanky or fast-killing.
Tips for Maximizing Trial of Chaos Runs
-
Assess risk vs reward – If previous rounds yielded precious loot, don’t take unnecessary risks.
-
Stack resistances and defenses – Physical, elemental, and chaos resistances reduce many modifiers’ impact.
-
Plan builds around modifier synergy – Chaos Inoculation nullifies Chaos/Poison/Bleed threats.
-
Positioning and dodge rolls – Critical for avoiding Pyramid Beams, Volatile Fiends, and Heart Tethers.
-
Know boss interactions – Some modifiers overlap with bosses, increasing danger.

Conclusion
The Trial of Chaos in PoE 2 challenges players to balance risk and reward with modifiers that can make or break a run. Understanding each modifier, analyzing your character build, and strategically choosing safer options ensures longer runs and maximized loot. Use this guide to dominate the Trial of Chaos and secure the best rewards.
💥 Need help beating tough bosses in PoE 2? Power through the Trial of Chaos and other endgame encounters with SSEGold’s professional power leveling service. Get expert assistance, claim rare loot faster, and conquer bosses without the stress—start your boost today!
Table of contents
Buy Path of Exile 2 Products
Recommended Article