
- > Dune Awakening New Rock Island Guide – Best Bases, Resource Farming & Defense Strategies
- > Dune Awakening's First DLC and Free Trial: Everything You Need to Know
- > Dune: Awakening August 2025 Patch Notes & Ornithopter Bounce Mechanic Explained
- > Prepare for Base Collapse in Dune Awakening – Patch 1.1.20 Guide
- > Where is the Wreck of the Hephaestus in Dune Awakening? – Complete Guide
- > The Hunt for Ben – A Power Outage That Became a Meme in the Dune Awakening Community
Dune: Awakening – Best Base Locations and Where to Build
Want to survive Arrakis without getting devoured by sandworms or griefed by rival clans? It all starts with where you build. This guide breaks down the best base locations in Dune: Awakening, using real in-game regions, with pros, cons, and key tips based on terrain, resources, and player strategy.
Why Base Location Matters in Dune: Awakening
In Dune: Awakening, your base is more than a home—it's your operations hub. Choosing the wrong location can mean constant raids, resource droughts, or watching your base sink into the sand. The right spot, though? It lets you thrive, profit, and survive both PvE and PvP content.
When choosing where to build, consider:
-
Resource proximity (spice blooms, water, salvage, fauna)
-
Sandworm and Coriolis storm frequency
-
Player traffic and PvP exposure
-
Accessibility to fast travel or trader NPCs
-
Environmental terrain like cliffs, plateaus, or dunes
Let’s dive into the best real regions for building a base in Dune: Awakening.
Best Base Locations in Dune: Awakening
1. Hagga Basin South (S Tier)
Best for beginners and PvE-focused players
-
Nearby: Basic crafting materials, water sources, and intro missions
-
Pros: Safe from PvP, limited worm danger, persistent base slots
-
Cons: Limited high-tier resources, slower progression past level 30
Hagga Basin South is where you start—and for good reason. It’s a peaceful valley with solid flat terrain and permanent base lots that don’t decay (unless abandoned). Great for players learning the game or focusing on solo PvE. If you don’t want your first base raided on day one, stay here.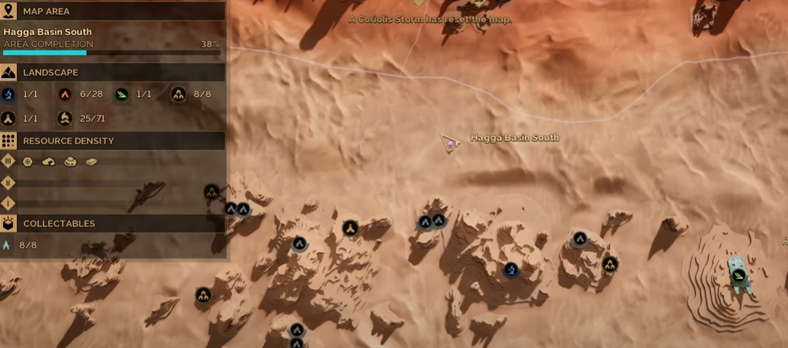
2. Eastern Vermillius Gap (A Tier)
Best for Trial runners and mid-game adventurers
-
Nearby: Trial of Aql: Static Compactor, fauna, salvage, and trade posts
-
Pros: Balanced area with resources and moderate risk
-
Cons: Player traffic increases with time
This region balances safety and opportunity. Eastern Vermillius Gap has enough space to build while giving you close access to mission zones and crafting supplies. It’s not PvP-enabled, but player competition over trials and fauna is common. Build on elevated ledges to avoid random creature spawns and use sensors for defense.
3. Western Vermillius Gap (A Tier)
Best for mid-to-late PvE progression and clan activity
-
Nearby: Cave of the Lost Pilgrim, rich salvage nodes, Aql missions
-
Pros: Higher tier loot, more PvE challenge
-
Cons: Higher aggro NPCs, more frequent combat zones
This area is ideal for players who want a challenge without diving into PvP. You’ll find more aggressive mobs here, and base spots tend to be more contested. Still, it’s worth it for players prepping for late-game trials or team-based farming. Just be sure your base is well-armored and hidden behind rocks or cliffs.
4. Hagga Rift (B Tier)
Best for secluded PvE builds with high elevation options
-
Nearby: Trial of Aql: Devil’s Eye Cavern, salvage, trade route access
-
Pros: Vertical terrain for stealthy bases, PvE content galore
-
Cons: Resource density is inconsistent; some storm paths sweep this area
Hagga Rift is the rocky sibling of the Hagga Basin—offering tighter cliffs, valleys, and more worm-ridden danger. If you want to build in a secluded PvE area with dramatic elevation (great for turret placements), this is your zone. Try building into the side of cliffs or atop rock arches.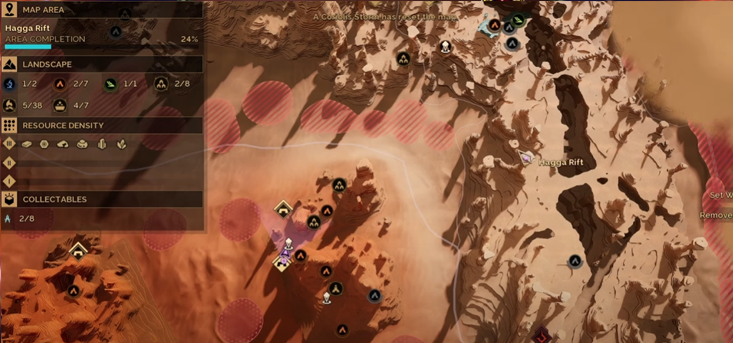
5. Shield Wall Foothills (B Tier)
Best for forward-staging bases just before PvP zones
-
Nearby: Transition to Deep Desert, patrol paths, spice-rich outskirts
-
Pros: Good balance of PvE content with access to Deep Desert raids
-
Cons: Worms and storms ramp up dramatically the closer you go
Position your base near the Shield Wall and you can scout the Deep Desert while avoiding full PvP exposure. This area is great for players preparing to leap into more dangerous zones or raid spice fields before others do. Use mobility and elevation to reduce risk—this is sandworm territory.
6. Deep Desert FOBs (S Tier for PvP)
Best for late-game PvP and high-yield spice farming
-
Nearby: Massive spice fields, roaming player caravans, legendary drops
-
Pros: Unrivaled rewards; dynamic FOB construction via blueprints
-
Cons: PvP is always on, base decay is real, sandworms everywhere
Once you’ve got the tools and tech, build Forward Operating Bases (FOBs) using blueprints. These are temporary but can be re-deployed after storms. The Deep Desert is rich in spice and PvP action. If you’re in a clan or just a high-risk/high-reward player, this is where you’ll make your mark—or lose everything. (You may be interested in our Deep Desert Guide)
What Makes a Bad Base Location?
Avoid these mistakes:
-
Building directly on sand – Worms track movement. Rock = safer.
-
Setting up near trial entrances – Too much traffic, constant aggro
-
Flat open terrain – No natural cover = easy pickings for PvP
-
Mid-desert bases with no elevation – One worm dive or storm, and it’s gone
Trading & Resource Hub Strategy
If you're a merchant-type player, your best option is near:
-
Arrakeen (social hub) – Close to player trade
-
Imperial Testing Station outposts – Fast travel and exchange points
-
Fauna-dense regions like Vermillius Gap – Great for exotic trade mats
Build within reach of these hubs to shorten your crafting loops and make easy trades with passing players.
General Base Building Tips
-
Always build on solid terrain – Worms can’t tunnel through rock.
-
Turrets and motion sensors are essential for defense.
-
Leave no lights on at night – Light pollution = "please raid me" signal
-
Use cliffs, natural overhangs, or boulders to conceal entrances
-
In Deep Desert, go mobile – Deploy FOBs, use smaller, efficient builds
Final Thoughts: Location Is Everything
Dune: Awakening’s sandbox is brutal, but smart players can thrive just by building in the right place. Whether you’re going PvE, PvP, or pure trade mogul, your first step to domination starts with base placement. Choose wisely.
Want a head start? You can buy Dune: Awakening solaris and Solari from SSEGold to speed up crafting or secure top-tier gear before jumping into the desert fray.
TL;DR – Best Base Locations (By Zone & Purpose)
| Region | Best For | PvP Risk | Base Decay |
|---|---|---|---|
| Hagga Basin South | Beginner PvE | Low | No |
| Eastern Vermillius Gap | Trials & Mid-Game | Medium | No |
| Western Vermillius Gap | Advanced PvE | Medium | No |
| Hagga Rift | Secluded Builds | Medium | No |
| Shield Wall Foothills | PvE-PvP Transition | High | Partial |
| Deep Desert (FOB) | PvP, Spice Farming | Very High | Yes (storm) |
Table of contents
Buy Dune Awakening Products
Recommended Article